How to Photograph the Northern Lights in Yellowknife (Local Tips That Work)
The numbers are the easy part of aurora photography here. The hard parts are knowing where the cameras go, what this landscape gives you to shoot against, and how a night at minus 30 behaves.
 Written with Thomas Beaulieu, Yellowknife tour guide & northern lights specialist
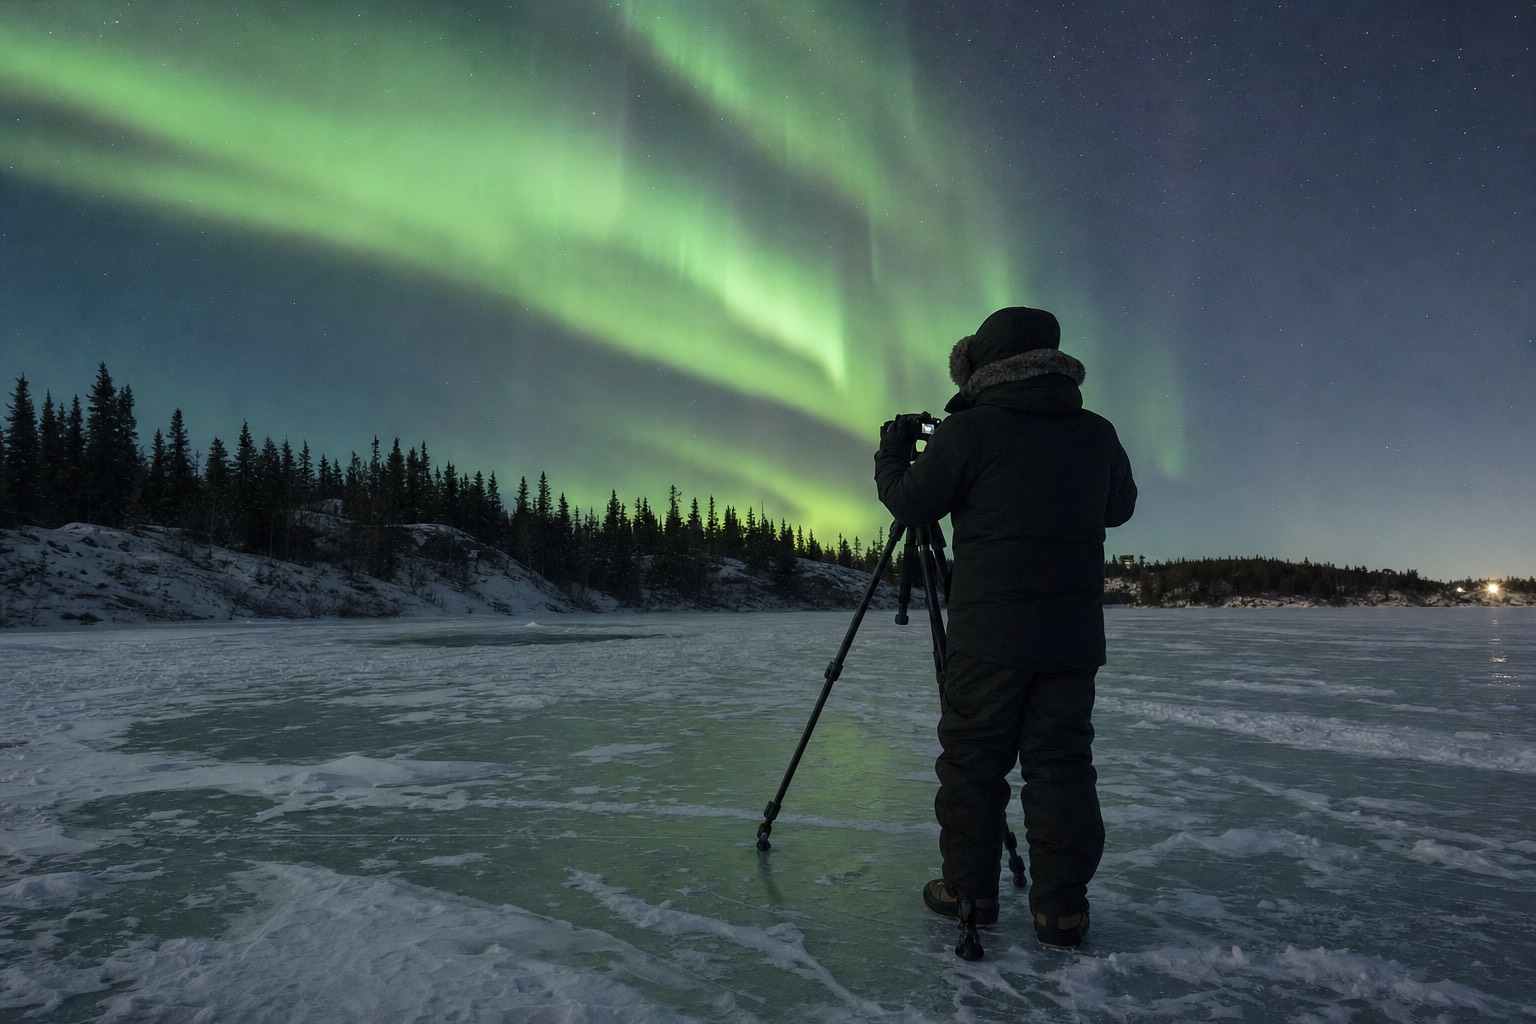
Short answer
Get out of the streetlights and onto or beside the ice: the frozen bay off Old Town, the Dettah ice road, or the lakes along the Ingraham Trail. Bring the widest, fastest lens you own on a tripod, put the flat horizon low in the frame, and keep spare batteries warm inside your parka. A guided hunt does the location work for you and carries a photographer.
The most common photography disaster I see on the ice is not a settings problem. It is a glove problem. Someone dials in a beautiful exposure, then spends ninety bare-fingered seconds fighting a tripod clamp at minus 25, and for the rest of the night their hands are done and the camera stays in the bag. Exposure numbers are the easy half of aurora photography, and they live on their own page now. This guide covers the half you cannot look up from home: where the cameras actually go around this town, what the landscape hands you to shoot against, and how a night in real cold behaves.
What do you need sorted before you step onto the ice?
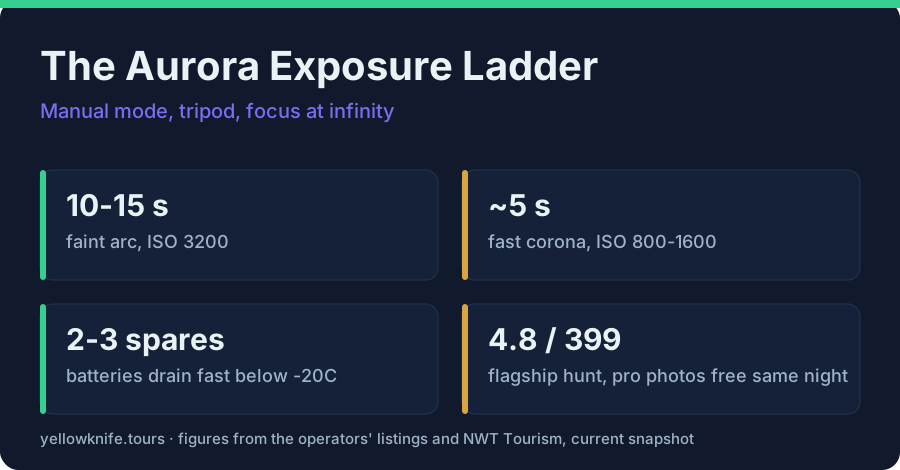
Manual mode, a tripod, focus checked on a bright star, and every fiddly thing done in the warm before you climb out of the van. Aperture wide open, ISO 800 to 3200, shutter 5 to 15 seconds is the baseline this sky asks for. Outside, your only jobs should be framing and pressing the shutter.
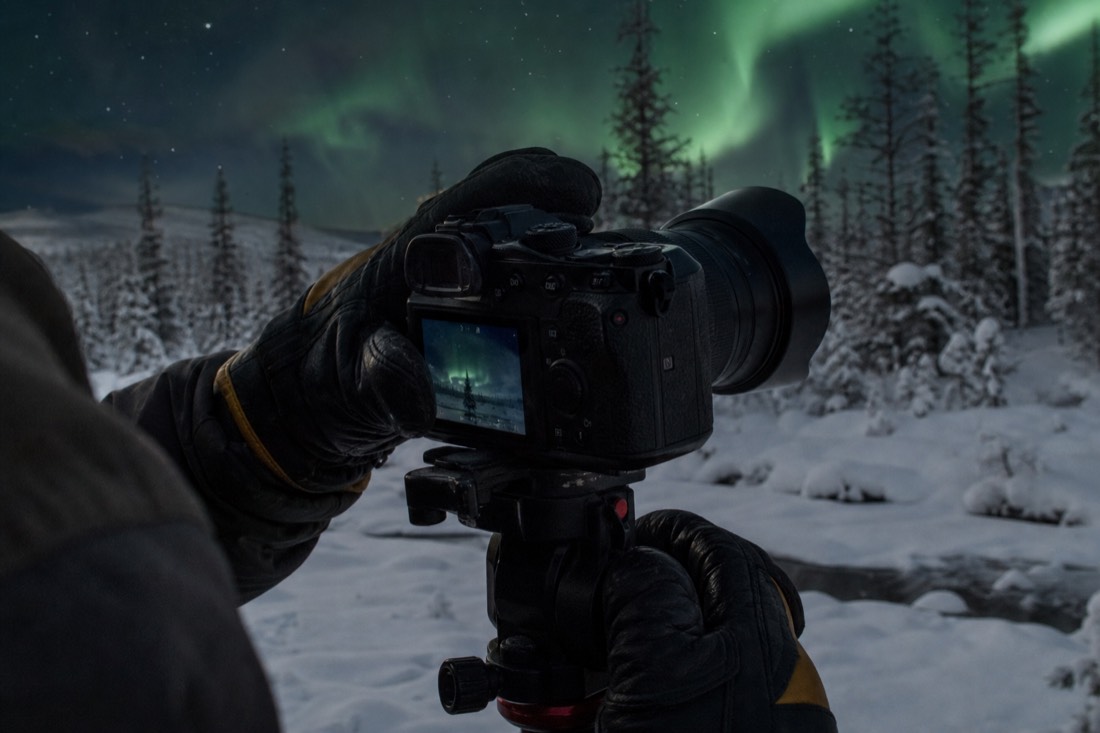
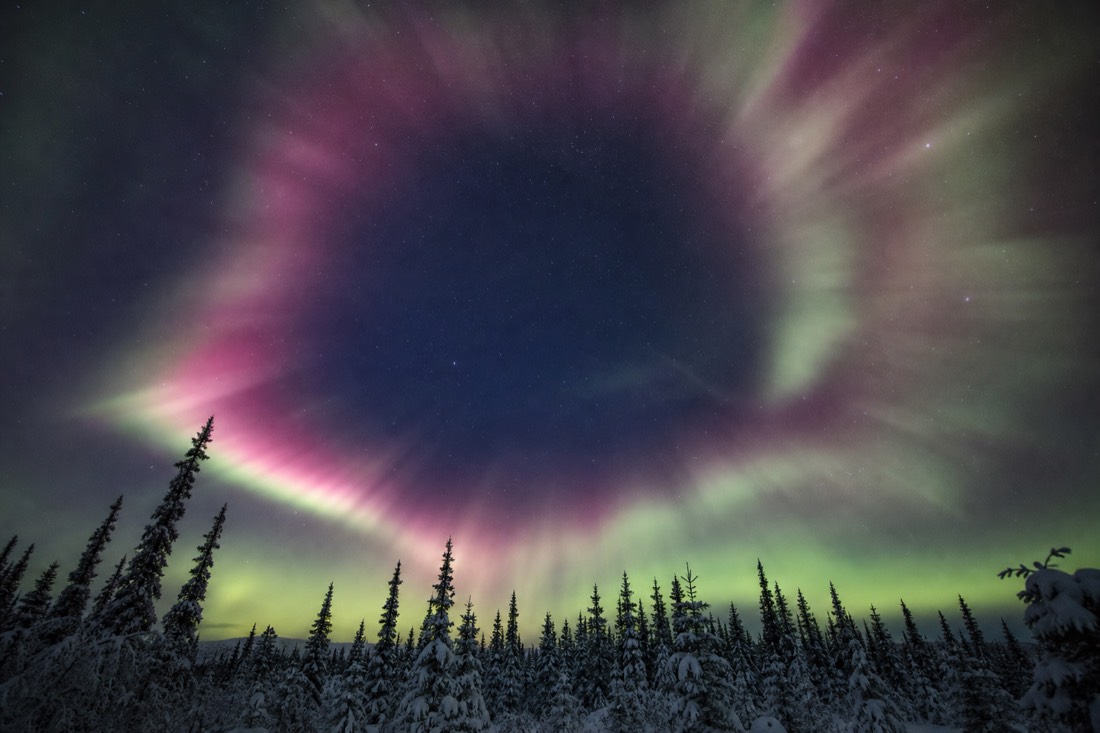
None of that is exotic, and that is the good news. The standard night-sky recipe works better here than almost anywhere, because Yellowknife sits under the auroral oval with aurora overhead up to 240 nights a year and very little light pollution once you leave town. You are not straining to record a faint smudge above the treeline. Most nights you are exposing for curtains directly over your head.
The exact shutter and ISO to dial as the display brightens, the fix for a frame that came out wrong, and what a bright moon does to all of it are laid out in northern lights camera settings. Learn that ladder at home in a warm room, so that on the ice you are reading a sky instead of reading a table. Everything below assumes you already have it.
Prep in the van or the hotel: mount the plate, set the ISO, kill the flash, dim the screen, pre-focus on a distant light and tape the ring if your lens creeps under its own weight. Use the 2-second timer so the press itself does not shake the frame. One local point before you go anywhere: do not wait for a big Kp forecast to bother setting up. This town sits under the oval, low-Kp nights routinely deliver, and one real review of our flagship hunt describes a strong show on a night forecast at Kp 0.0. The odds behind that live in your real chances of seeing the lights.
Where do you actually shoot the aurora around Yellowknife?
Away from the streetlights, on the ice or right beside it. The frozen bay below Old Town, the Dettah ice road, and the string of lakes along the Ingraham Trail are the three shooting grounds locals use. A guided hunt does the same job faster, running three viewpoints and moving as soon as cloud rolls in.
| Where | What the camera gets | Getting there |
|---|---|---|
| Frozen bay below Old Town | Houseboats on the ice and the view from the Bush Pilots Monument, with town glow on one edge | Walk down the hill from downtown |
| The Dettah ice road | About 6.5 km of plowed lane running straight across the ice, roughly late December to mid-April | Drive it, and pull fully out of the lane before you set up |
| Ingraham Trail lakes | Spruce-lined shorelines and the darkest sky within easy reach: Prosperous, Madeline, Prelude, Tibbitt | Car or tour van, on a 70 km dead-end road east of town |
| Long Lake, Fred Henne park | Open shoreline and an unblocked sky, minutes from the airport | Short drive from downtown |
| Frame Lake, downtown | Convenient and walkable, and the most light-polluted option on this list | On foot from most hotels, a 5 km loop |
| A guided hunt's three viewpoints | Whatever is clear that night, picked while you sit in a heated van | Hotel pickup, four hours, no driving |
The reason the vans keep moving is simple: cloud, not geomagnetic activity, is usually what decides whether you get a picture here. Something is nearly always happening up there. A guide's real job is to park you under the one hole in the sky, which is why a night that a fixed camp loses can still be saved by a van willing to drive another twenty minutes. Check the sky the way locals do, on the city's weather and aurora page, before you commit to a spot.
Two safety notes I would rather over-explain than skip. Lake ice is not a photo studio in November or in April: follow the city's ice safety guidance, and stay on ground that people are already walking or driving on. And if you shoot from the ice road, treat it as the public road it is. Pull the car right out of the lane, kill the headlights, watch for residents driving home. The crossing and its rules are covered in the Yellowknife ice roads guide, with the official version on the local ice-road page.
What northern lights photography tips make the biggest difference here?
Shoot the first decent arc instead of holding out for a better one, recheck focus at every new stop, turn your back on the town glow, put a person in the frame, and shoot vertical as well as wide. Those five habits fix more pictures than anything you can buy on the way to the airport.
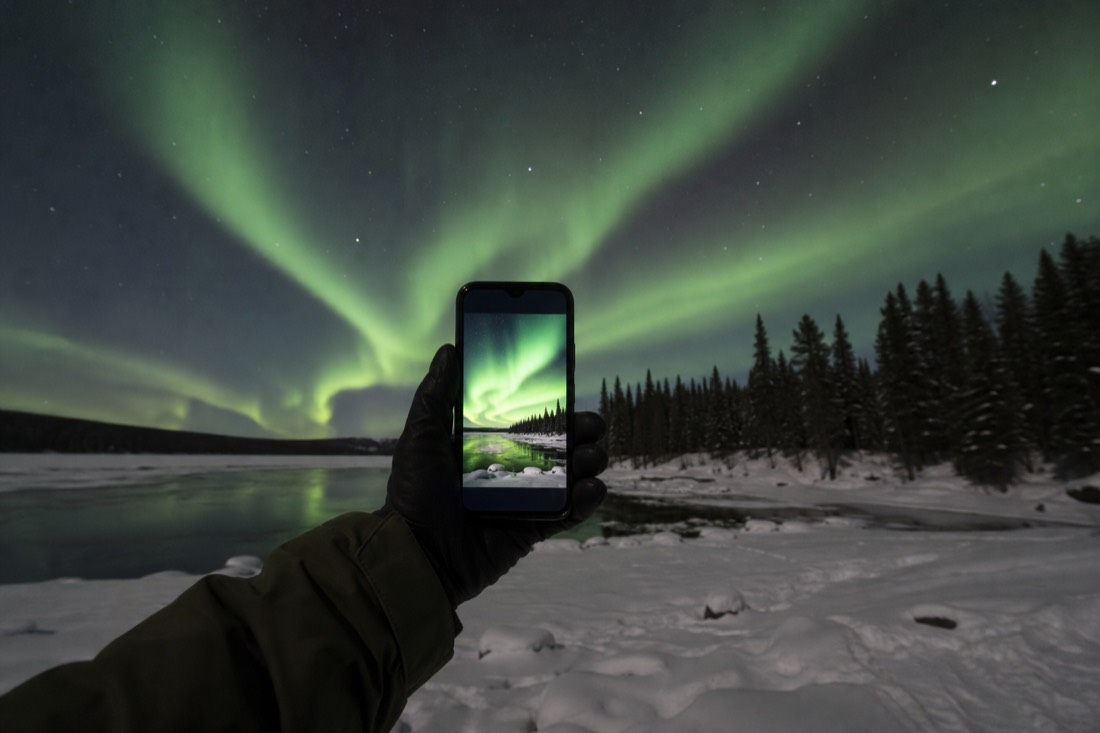
Shoot early. Guests wait for a better display all the time, and a better one does not always arrive. The sky here tends to open, fade, and open again through the night, so treat each show as though it is the last one and you will never drive back to the hotel empty.
Recheck focus every time you move. A focus ring nudged in a mitt costs you every frame after it, and at minus 25 you will not spot the difference on a dim screen. Ten seconds of magnified playback on a bright star at each new viewpoint has saved more of my guests' nights than any other habit on this list.
Turn away from town. Even a city of twenty thousand paints an orange stain along one edge of a long exposure, and the fix costs nothing: frame in the other direction, or crop that edge out before you leave the spot. On the flip side, use the moon rather than cursing it. Moonlight lifts the snow for free and turns an empty foreground into texture.
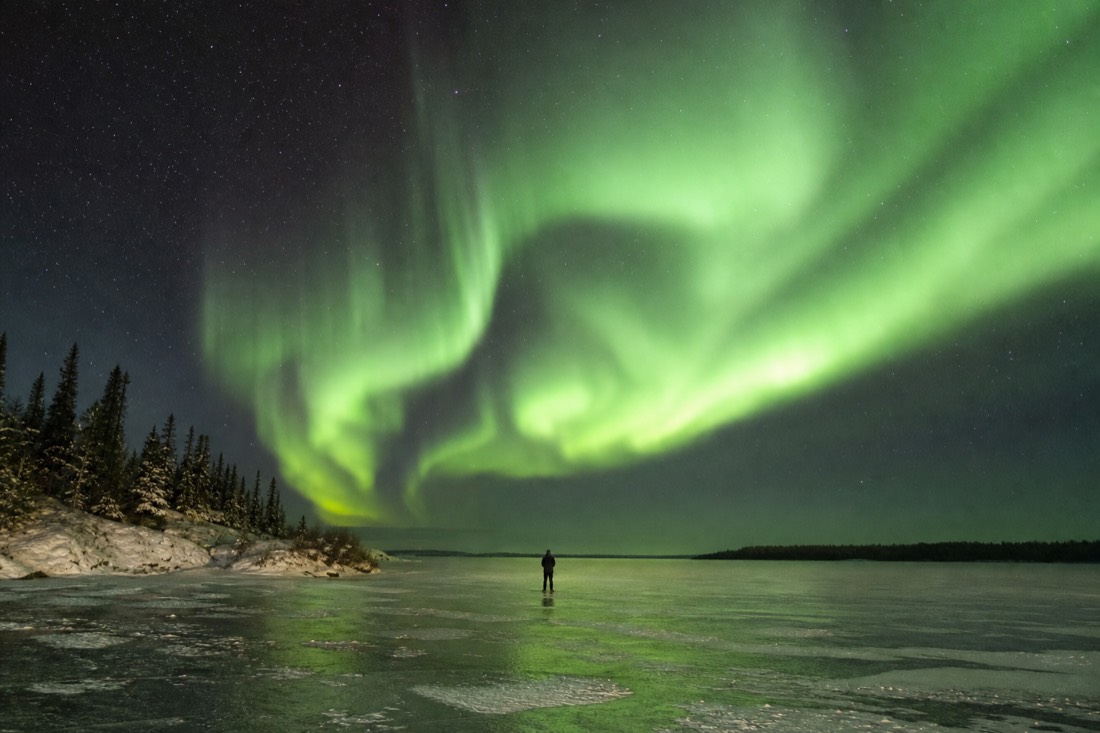
Put a human in the picture. The frames my guests actually print are almost never the pure sky shots. They are the ones with a parka-shaped silhouette on the ice giving the curtains something to be enormous against. Ask someone to stand still for the length of the exposure, which sounds obvious and is the step everyone forgets.
Shooting on a phone instead? That is a different craft with different failure modes, and shooting the aurora on a phone walks through night mode, holding still, and why the battery quits before a camera's does. The short version: brace it on something solid, let the countdown finish before you move, and keep the phone inside your jacket between shots.
How much does the cold change what you can do out here?
More than the gear does, and it comes for the batteries and the fingers first. January highs average about minus 21.6, the daily mean sits near minus 25.5, and nights average around minus 29. Carry two or three spares warm against your body, wear thin liners under your mitts, and work in short bursts.
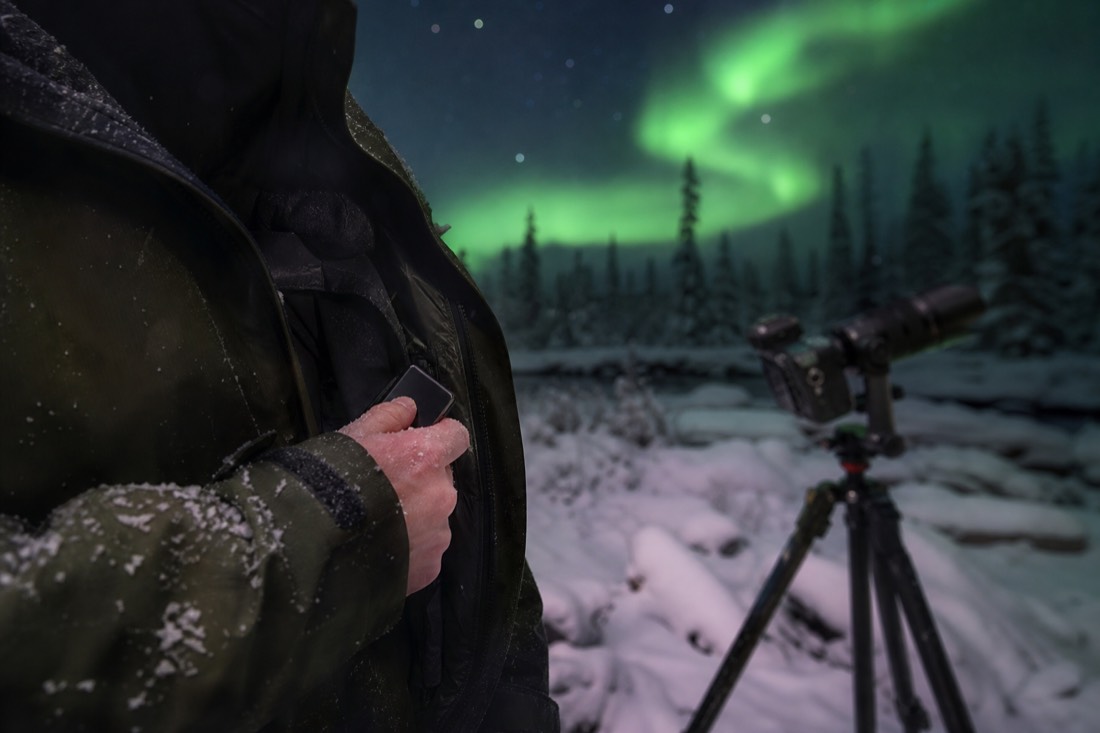
Battery rotation is the difference between shooting all night and watching the best display of your trip through a dead viewfinder. Warm spare goes in, cold battery goes into the inside pocket to recover, repeat every time performance sags. A battery that reads dead in the cold is usually just chilled, and it will come back after ten minutes against your chest. Hunts run past midnight, into the coldest hours of the day, which is exactly when the aurora tends to be at its best and your kit is at its worst.
Hands are the part visitors underestimate. Standing still is the coldest activity there is, and aurora photography is standing still with your arms up. Thin liner gloves let you work dials without bare skin on frozen metal, big mitts go over the top between frames, and the whole night gets easier if you dressed for an hour of not moving. That is the exact problem the what to wear guide is built around, including where to rent a real parka in town. For scale on what this climate can do, the town's record without wind chill is minus 51.2, set in 1947, and Cabin Radio's look at the historical numbers is a useful reality check.
The other cold rule runs in reverse and catches people at 2am. A frozen camera carried straight into a warm hotel room fogs inside and out. Bag it before you go through the door, or leave it capped in the camera bag and let it warm slowly. On a guided night most of this is handled for you: the van is heated, it runs between viewpoints, and you climb back in with a hot drink while your batteries recover in a pocket. What that rhythm actually feels like, camera in hand, is the story in what an aurora hunt is really like.
What lens works best for the northern lights?
The widest and fastest one you already own. Aurora fills the sky here rather than sitting politely on the horizon, so an ultra-wide angle earns its place, and an aperture of f/2.8 or faster buys you a shorter shutter and a cleaner file. If a kit zoom is what you have, use it at its widest and push the ISO.
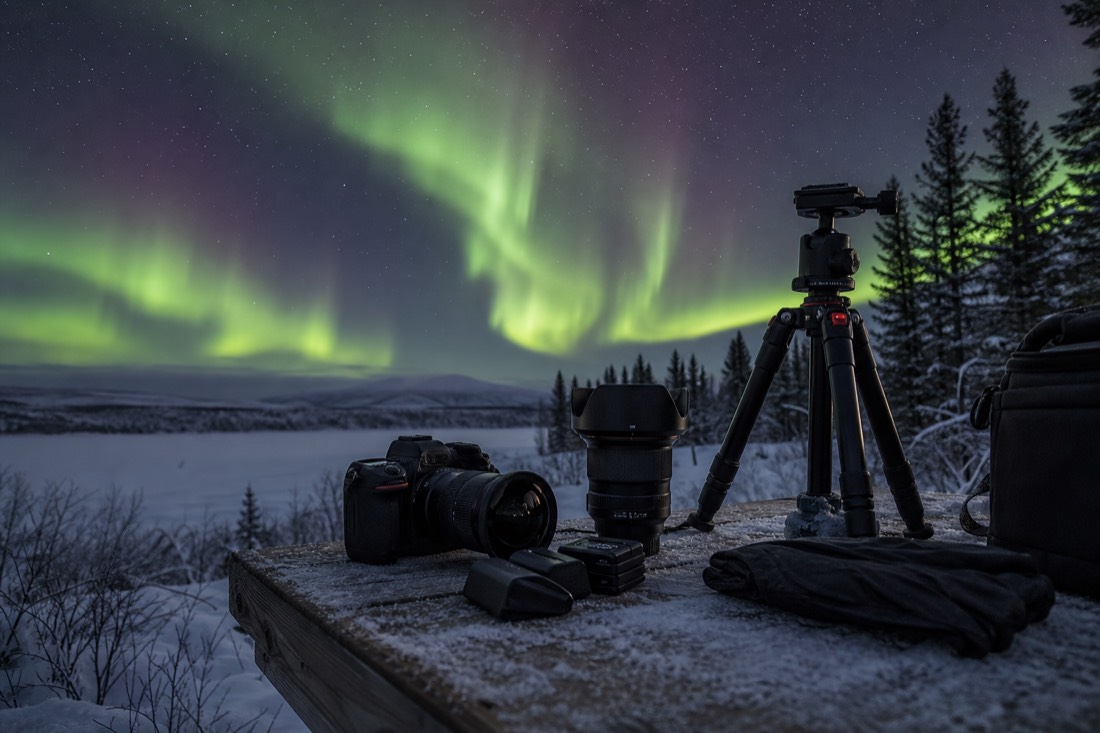
| Lens type | What it gives you under this sky | The trade-off |
|---|---|---|
| Ultra-wide, roughly 14 to 20mm on full frame | Holds a corona that covers the whole sky, plus foreground in the same frame | Budget ultra-wides go soft in the corners wide open |
| Standard wide, roughly 20 to 35mm on full frame | The classic band-over-landscape frame, easiest to compose | You will crop out part of an overhead display |
| Kit zoom at its widest, f/3.5 to f/5.6 | Genuinely usable; most good guest photos I see come off one | Costs a stop or two, so ISO and noise climb |
| Fast prime, f/1.4 to f/2 | The biggest low-light gain available, short shutters on bright nights | Thin depth of field makes manual focus less forgiving |
| Anything longer than standard | Occasionally nice for tight ray detail in one corner of the sky | Far too narrow for a display overhead, and stars trail sooner |
Only two things really matter: how much sky the lens holds, and how much light it lets through. On a crop sensor the millimetre numbers shift, so think in field of view rather than in figures, and remember that "wide enough" here means wide enough to include the space directly above you. Fast glass is the one upgrade that visibly changes aurora files, because a stop of aperture is a stop you do not have to buy with ISO or with a longer shutter that smears the ray structure into green fog.
The rest of the kit list is short. A tripod you trust in wind, because 5 to 15 second exposures need dead stillness. Two or three spare batteries. Liner gloves under mitts. A headlamp with a red mode, which protects your night vision and everyone else's at a crowded viewpoint. And a remote release, or just the 2-second timer that is already in your camera.
How do you compose an aurora shot against a flat lake horizon?
Use the flatness instead of fighting it. A frozen lake hands you a dead-level horizon, so put it low and give the sky two thirds of the frame or more. Then find one anchor, a spruce line, a houseboat, a person in a parka, so the curtains have something to be huge against.
| Foreground anchor | What it adds | Where you find it |
|---|---|---|
| Spruce treeline | A jagged black edge under a flat sky, plus instant scale | Shorelines all along the Ingraham Trail |
| A person in a parka | Human scale, and the frame people actually print | Any tour group, or a patient travel partner |
| Houseboats | Unmistakably Yellowknife; roughly 50 of them sit in the bay | The ice below Old Town |
| Snowdrift texture near the lens | Depth in an otherwise empty white field | Anywhere on the ice, best with the moon up |
| A lit hut window | One warm point of colour against all that green | Lake camps and ice-fishing huts |
| The ice road lane | A leading line running straight into the horizon | The Dettah crossing, framed from off to one side |
Mountain destinations hand photographers their composition. Here the drama is all vertical: curtains climbing off a flat white line, which is its own look, clean and huge and almost graphic. The flat horizon doubles as a level, so line it up and your frames never tilt. The one thing a flat frame cannot survive is emptiness, so walk until something honest enters the bottom of the picture, and shoot verticals as well as wide ones, because a curtain going straight up wants a tall frame.
Snow condition changes the foreground more than people expect. Deep winter gives you smooth, dark, featureless ice; by late season the light lasts longer and the snowpack carries texture worth keeping low in the frame, one more argument in the March deep-dive for that month.
What if you just want great photos without the fuss?
Take the hunt that brings its own photographer. The flagship Yellowknife aurora hunt carries a professional who shoots the display and the guests all night, and the photos arrive free, the same night. You can watch the sky with your hands in your mitts and still fly home with proof.
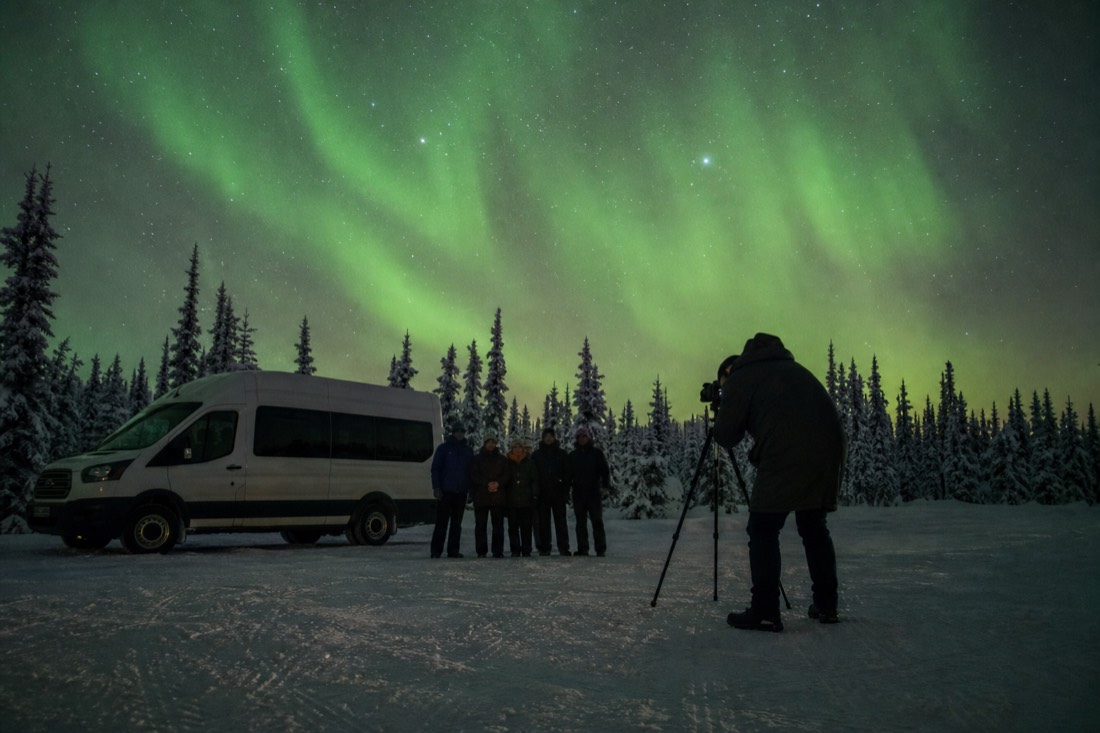
I mean this without a hint of snobbery: some of the happiest people on the ice are the ones who decided in advance not to be photographers that night. The flagship hunt runs four hours across three viewpoints with a maximum of sixteen guests, rated 4.8 across 399 reviews, and the pro's shots of you under the curtains cost nothing extra. It is also the best free photography lesson in town, because you can watch where the photographer points, which spot they choose, and what they wait for. Compare the northern lights tours if you want the full menu, or check live availability and prices on Viator for the hunt with the photographer aboard.
Last thought, from someone who has watched hundreds of people experience this sky: take your shots, then stop. Set the camera on interval or just let it rest, and give the best display of the night your naked eyes for a few minutes. The files will outlast your trip, but the memory of standing under a moving corona is the thing you actually came for.